
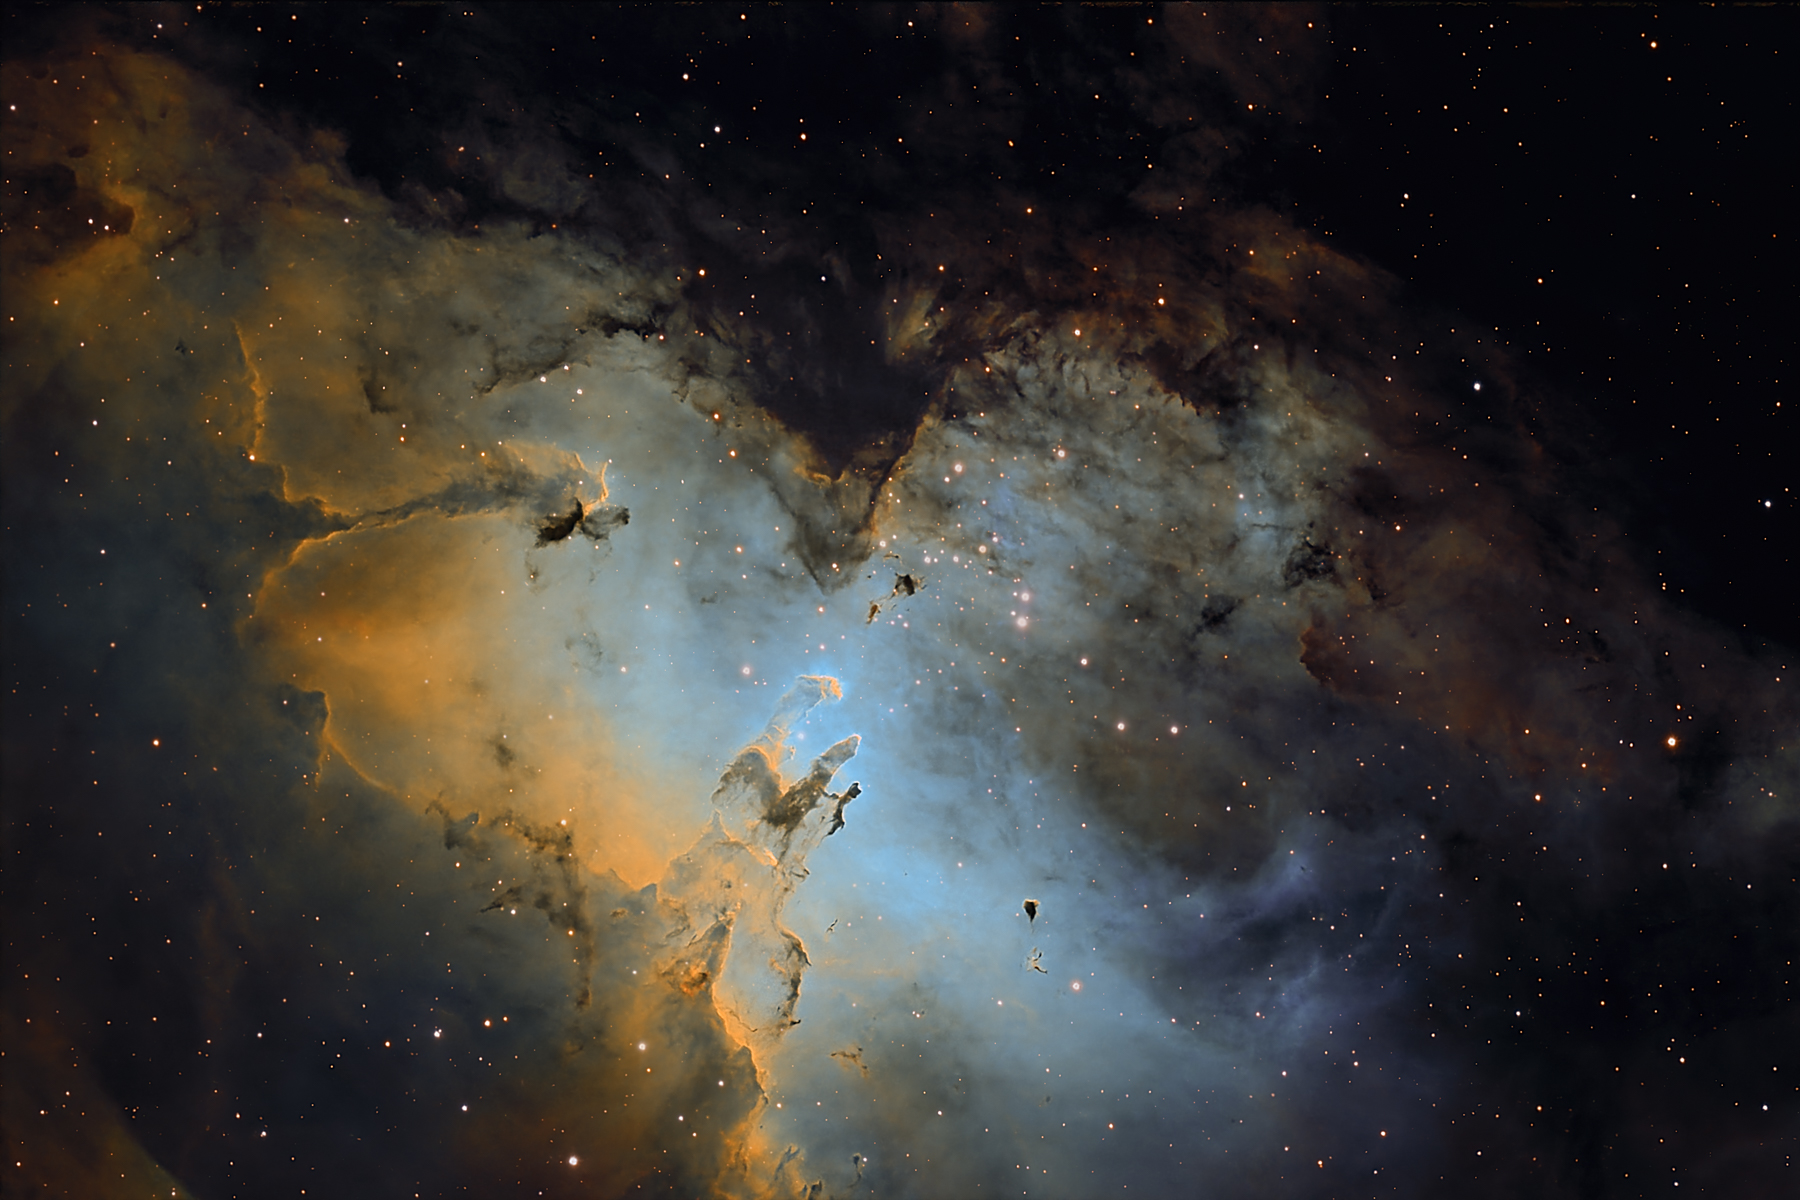
1. Overview
The Eagle Nebula is famous for the Pillars of Creation, towering columns of gas and dust where new stars are forming. It is a rewarding target because it combines bright emission, dark dust, delicate structure, and a strong sense of depth.
M16 is a good target for imagers who are ready to move beyond the easiest beginner objects and begin practicing careful tracking, longer integration time, and more structured processing.
2. Planning Your Session
The Eagle Nebula is best captured during the summer months when it rises high enough for cleaner imaging. Try to plan your session around a moonless or low-moon night, especially if you are using broadband filters.
- Choose a night with clear transparency.
- Wait until the target is higher above the horizon.
- Use a planning app or sky map to confirm visibility.
- Plan for more than one night if you want deeper detail.
3. Equipment Setup
A telescope or medium focal-length imaging setup works well for the Eagle Nebula. Wide-field setups can capture the surrounding region, while longer focal lengths reveal more detail in the Pillars of Creation.
| Telescope | Askar 103 APO or similar refractor |
| Mount | Tracking mount with guiding recommended |
| Camera | Cooled astronomy camera or modified DSLR/mirrorless camera |
| Filter | Dual narrowband, H-alpha/OIII, or broadband under dark skies |
| Guiding | Recommended for longer exposures |
4. Capture Plan
The Eagle Nebula benefits from steady tracking and enough total integration time to reveal faint surrounding gas and dust. If your skies are bright, narrowband filters can help isolate the nebula from light pollution.
- Exposure length: 180–300 seconds
- Total integration: 3–10+ hours
- Calibration frames: darks, flats, and bias or dark flats
- Focus: check regularly as temperature changes
5. Processing Workflow
Processing can be done in PixInsight or a similar astrophotography workflow. The goal is to bring out the structure without over-stretching the stars or losing the dark dust detail.
- Calibrate and stack the images.
- Remove gradients and uneven background light.
- Apply noise reduction while the image is still linear.
- Stretch the image carefully.
- Enhance contrast in the nebula.
- Adjust color and saturation.
- Sharpen details gently.
- Finish with final artistic refinements.
6. Lessons Learned
The Eagle Nebula rewards patience. More integration time helps reveal faint outer gas, and careful processing preserves the sense of depth around the pillars. This is also a target where focus, guiding, and weather conditions make a noticeable difference.
For me, this image also became more than a still photograph. It became the foundation for a parallax animation and one of my first steps toward blending astrophotography, storytelling, and motion.